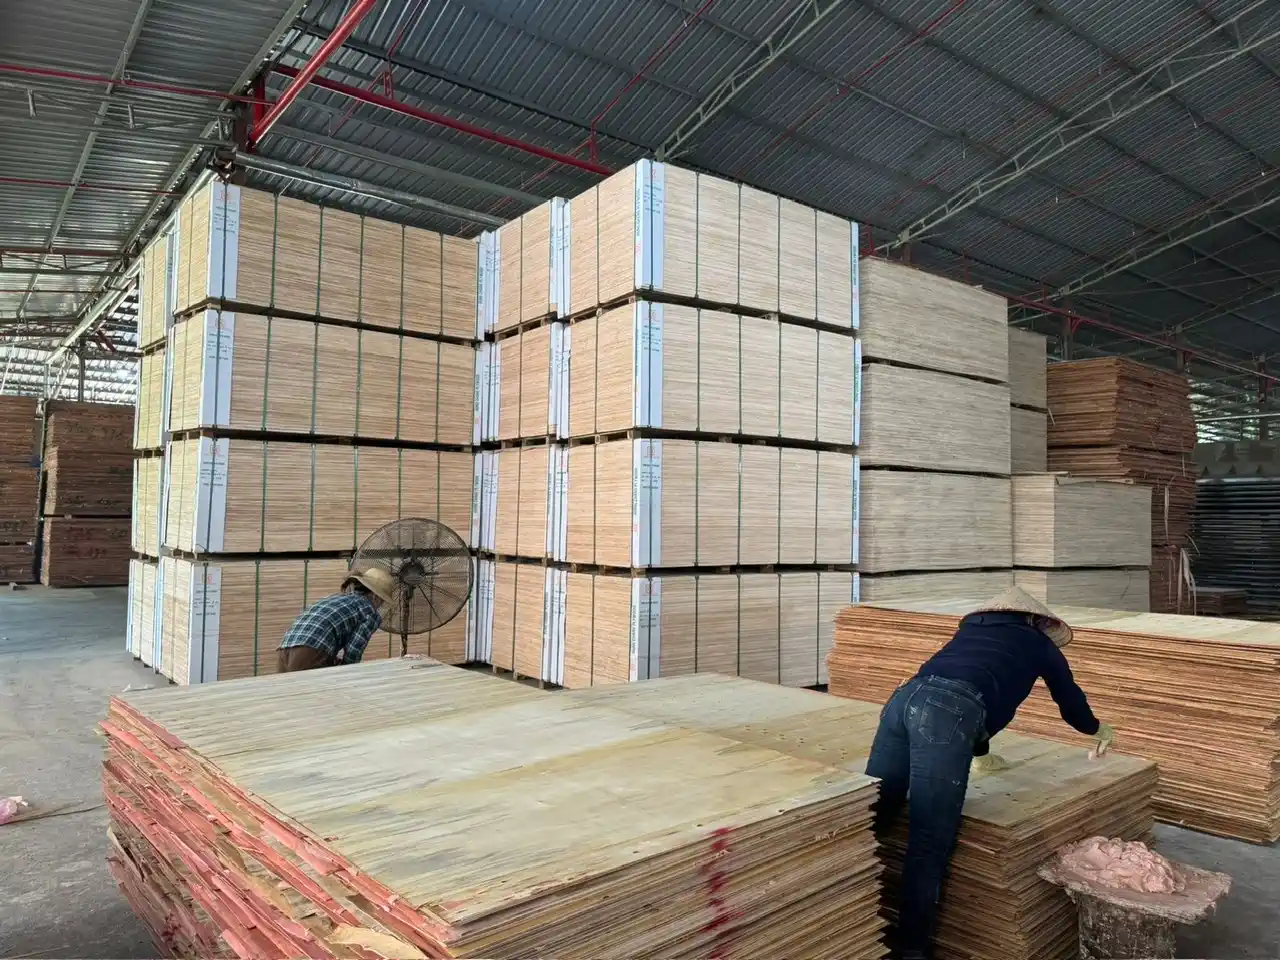

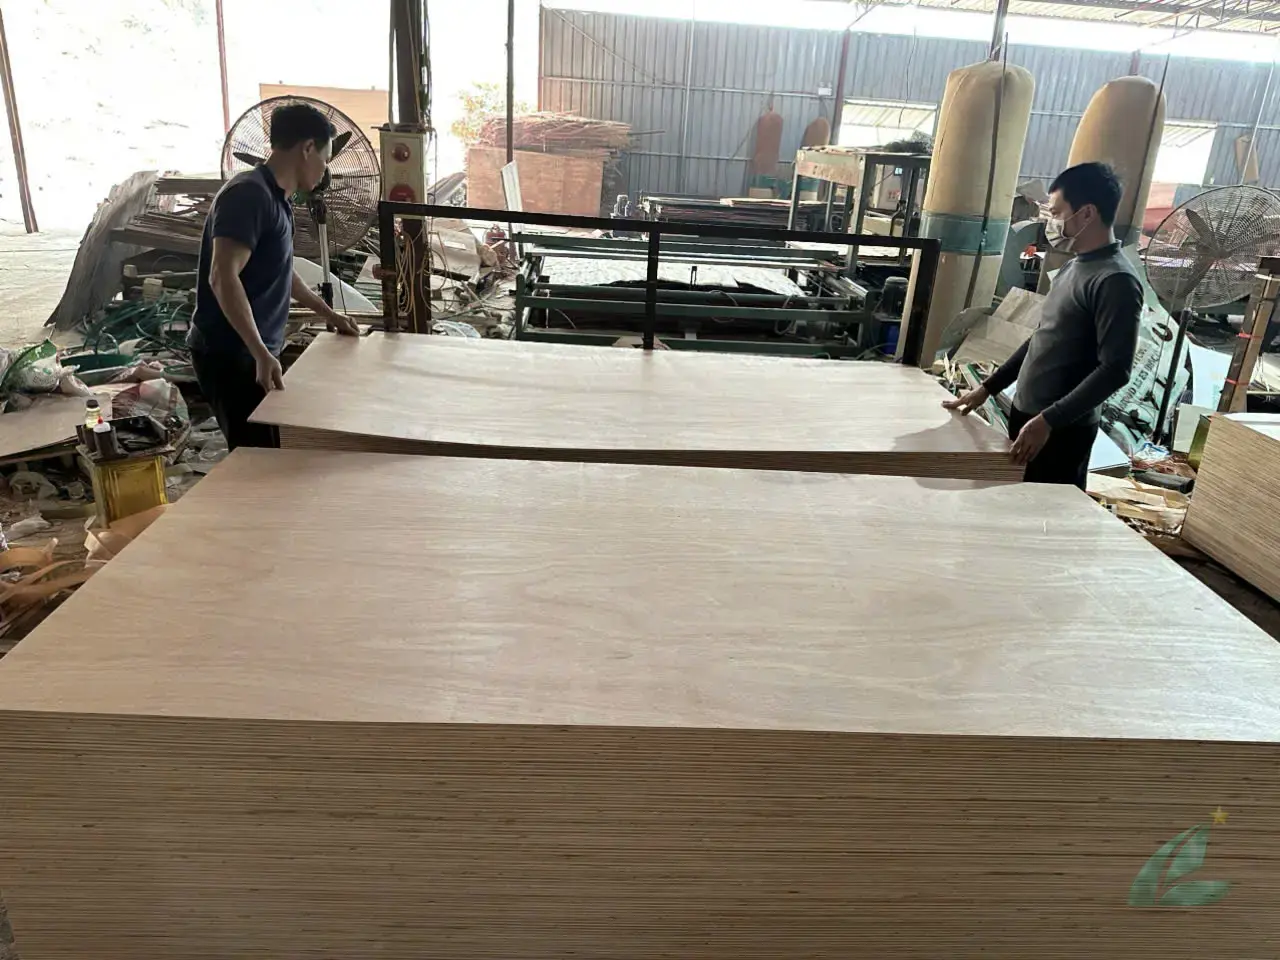
Okoume plywood panels arrive from the factory already sanded — but that factory sanding is calibration sanding, not finish-ready sanding. Miss this distinction, and your primer coat sinks unevenly into the grain, your stain blotches, or your paint peels within 18 months.
This okoume veneer finishing guide covers every stage: surface prep, primer selection, topcoat options for furniture versus marine use — see also okoume plywood for European furniture factories — and the coating schedules that European furniture manufacturers follow on HCPLY-supplied panels (as of 2026). The steps apply whether you are finishing a single sheet at a workshop or scaling up to a production run.
Used correctly, okoume plywood finishing produces a surface that rivals birch for interior furniture — at a lower cost per sheet, with a lighter panel weight that simplifies handling and shipping.
📋 What Makes Okoume Different to Finish?
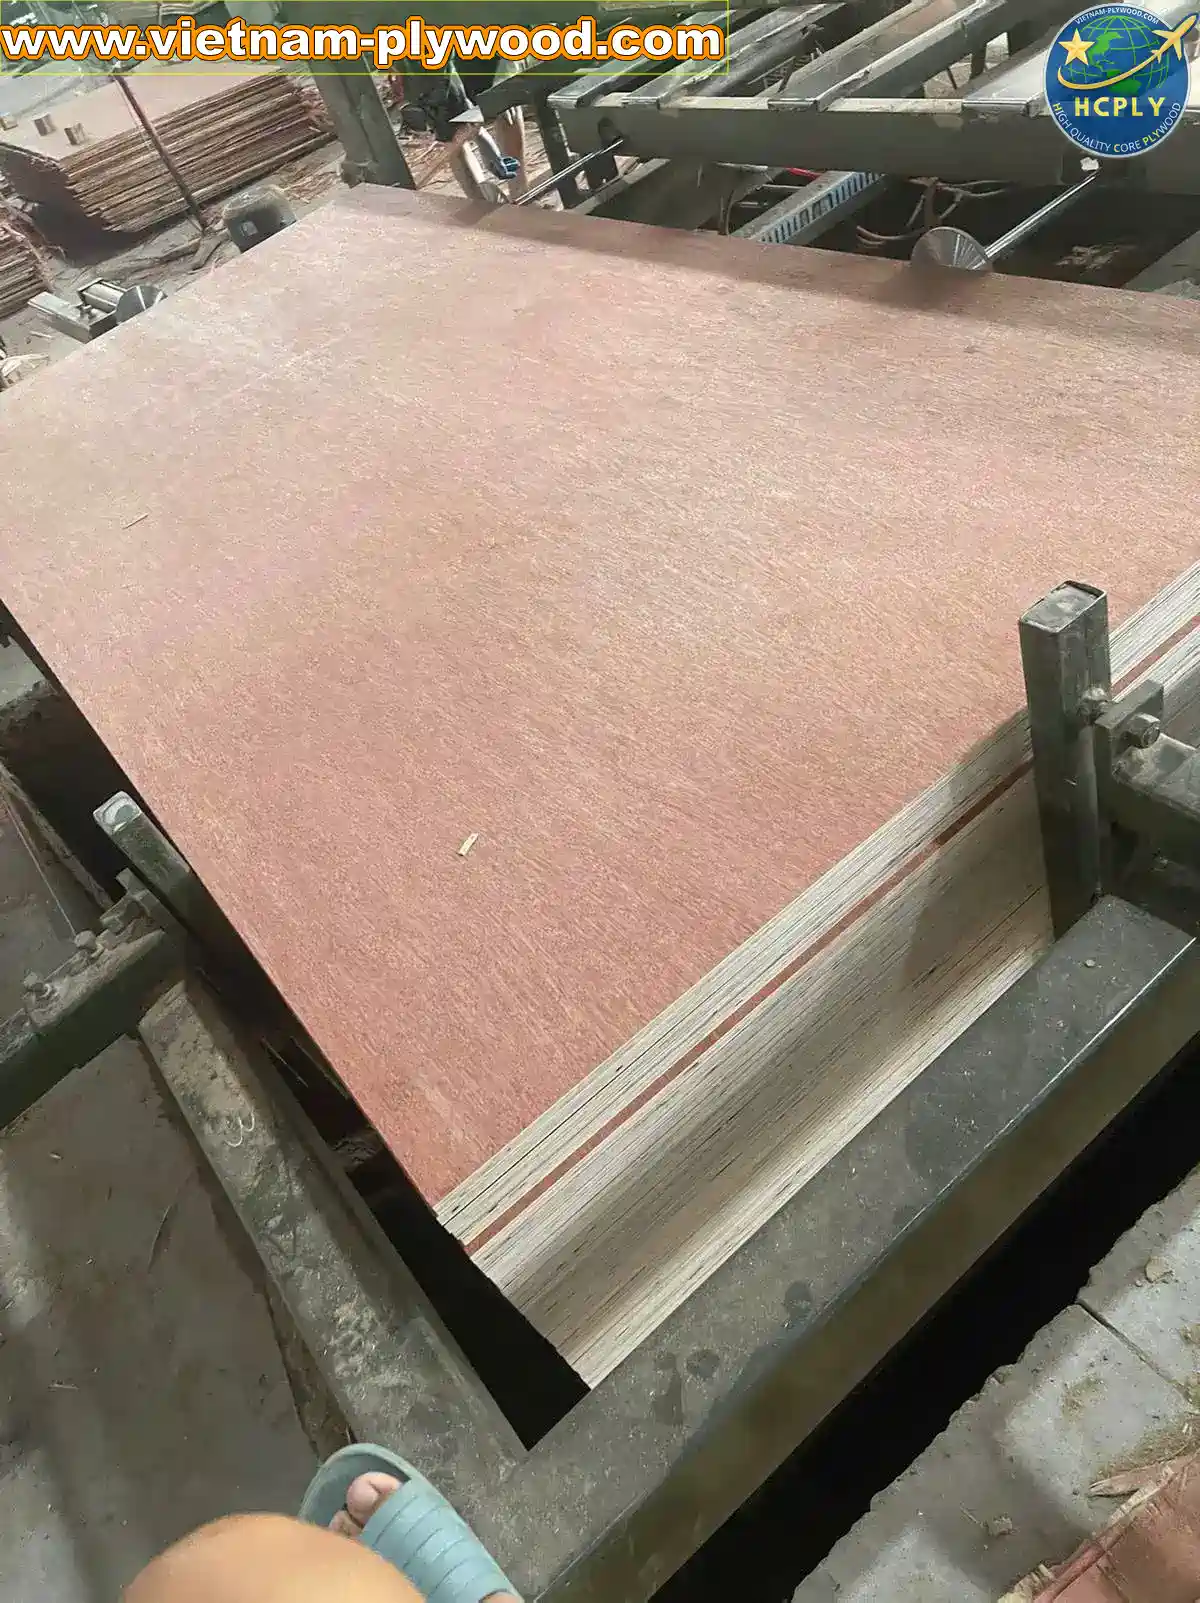
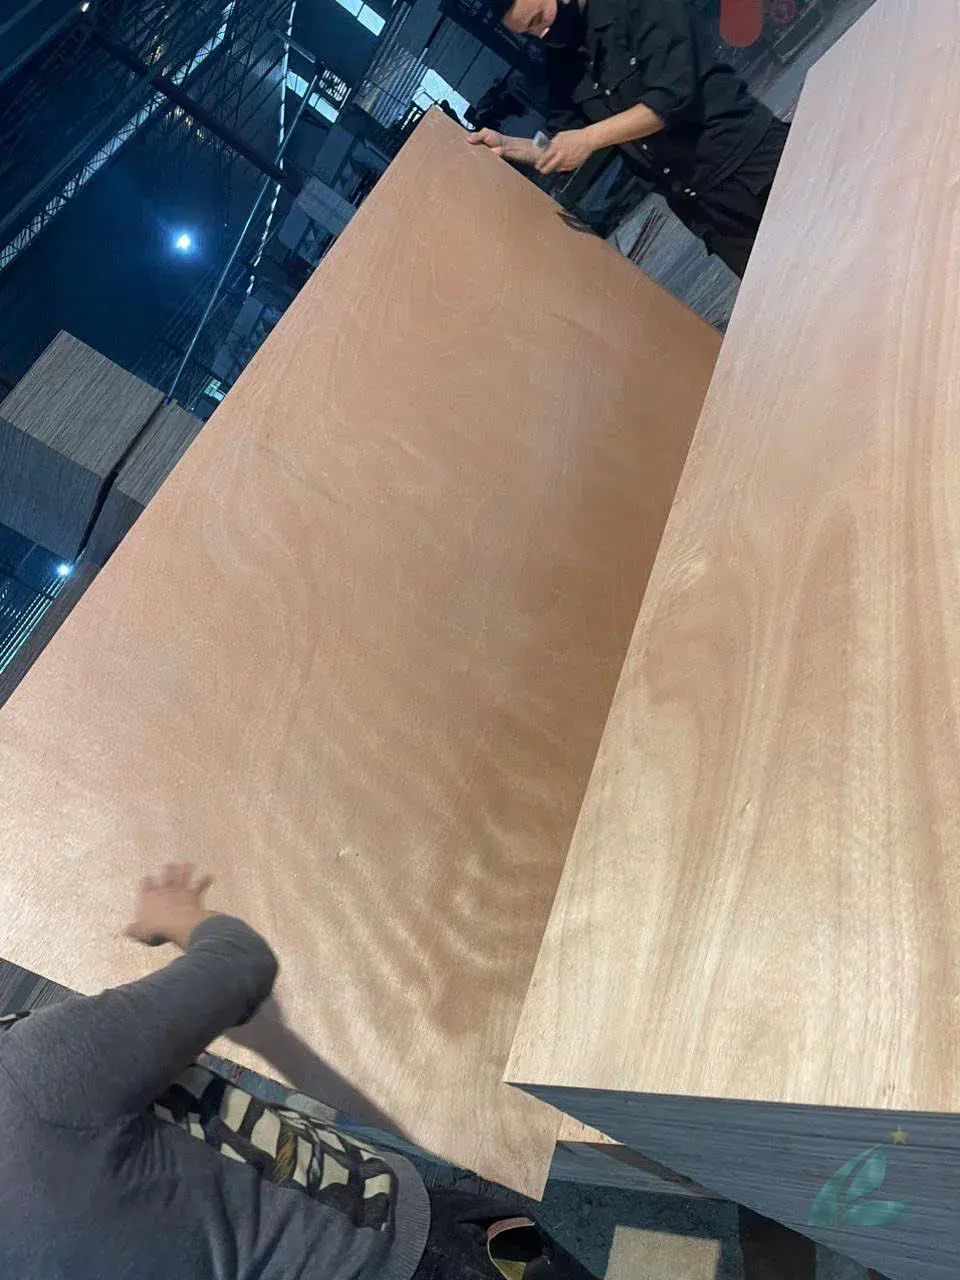
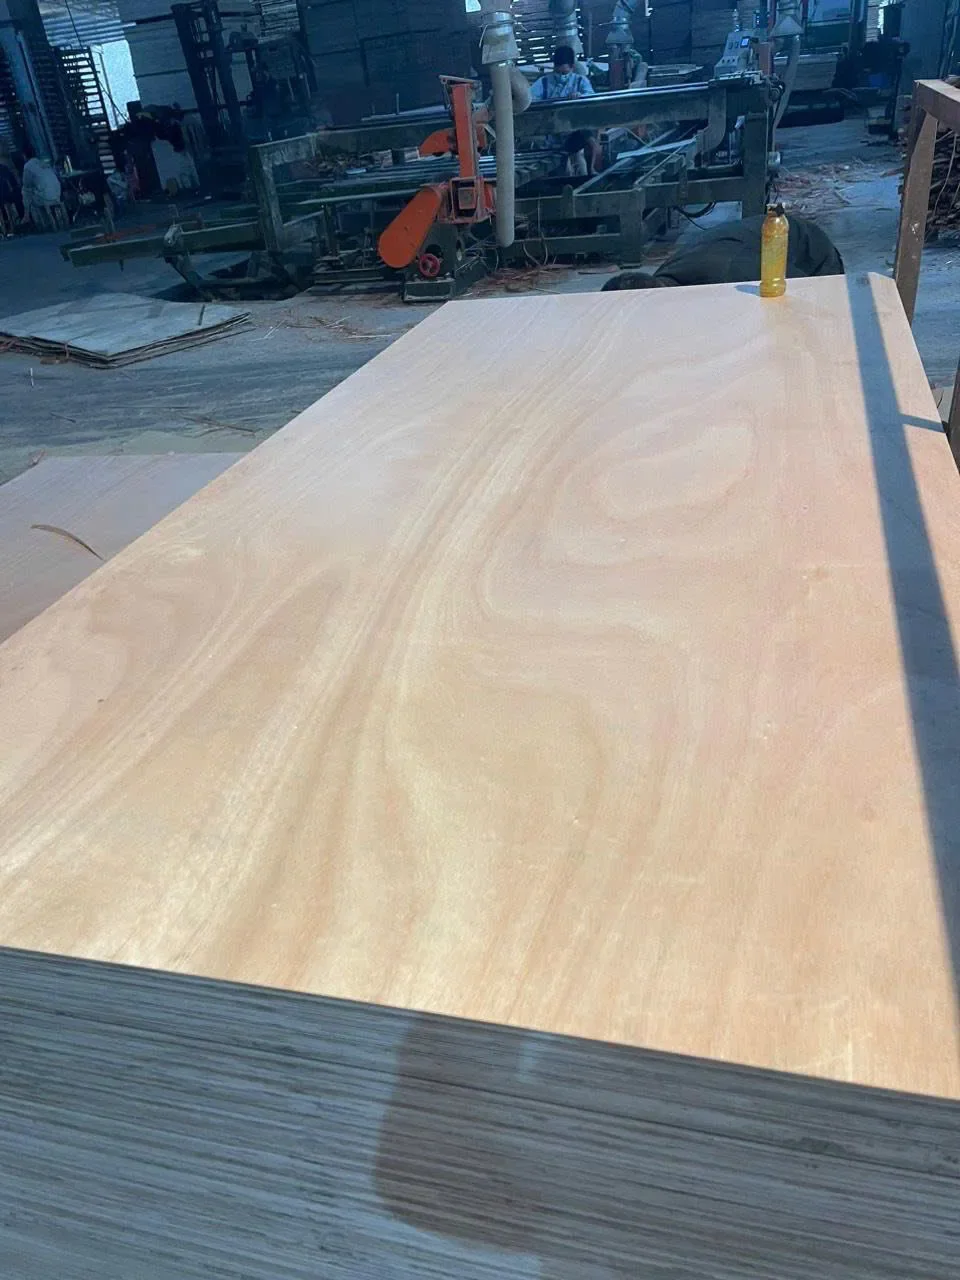
Okoume (Aucoumea klaineana) is a West African species — Gabon is the primary source — with a pale pink to salmon face and a characteristically open grain. That open grain is what separates okoume finishing from working with birch or bintangor.
Key properties that affect finishing:
- Density: Okoume face veneer is lightweight and moderately soft compared to gurjan or eucalyptus face. It compresses slightly under sanding pressure if you use too coarse a grit.
- Grain structure: Open, straight grain with mild interlocking. Absorbs liquids faster than closed-grain species like birch.
- Tannin content: Low-to-moderate. Tannin bleed is less severe than oak or teak, but still present enough to require a sealing primer before water-based topcoats.
- Face veneer thickness: Vietnamese-exported okoume plywood typically carries a 0.2–0.4mm face veneer (HCPLY production data, 2026). At 0.2mm, you have limited sanding tolerance — aggressive abrasion burns through to the core.
- Emission standard: Panels specified E0 or E1 with melamine (MR) glue are standard for European furniture market shipments.
💡 Tip: Before finishing, confirm the emission grade of your panels. E0 panels (≤0.5 mg/L formaldehyde) are mandatory for enclosed furniture destined for the EU. This does not affect your finishing process, but it matters for compliance documentation.
The light pink hue of okoume also means that any finishing product — stain, oil, varnish — will shift the final color noticeably. A clear polyurethane adds slight amber warmth; an oil finish deepens it to a peachy-gold tone. Plan your finish selection based on the target color, not just the product spec.
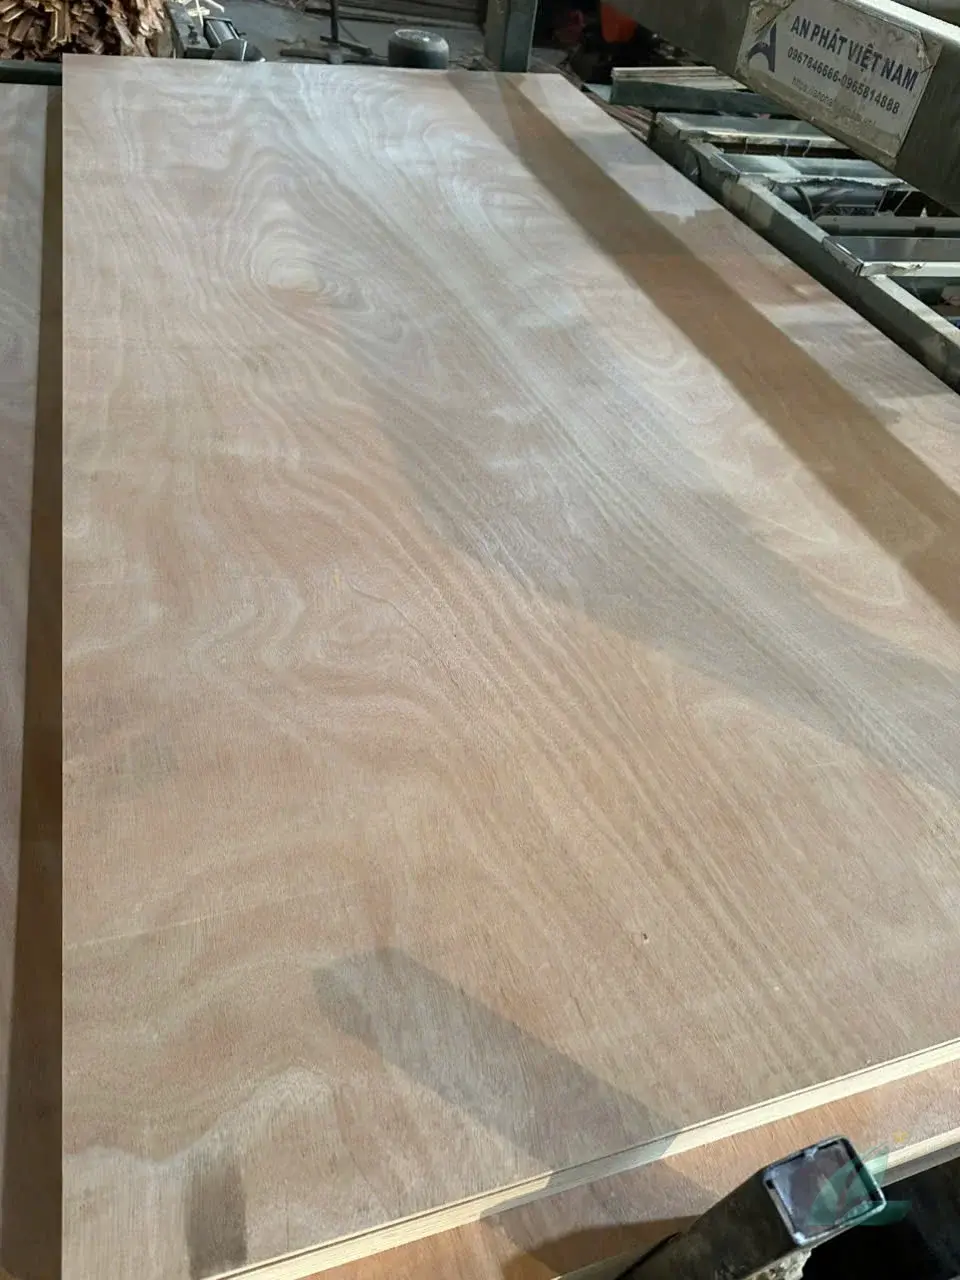
🔧 Step 1 — Surface Preparation and Sanding
Factory sanding on export-grade okoume plywood uses a wide-belt sander calibrated to achieve thickness tolerance, not a finishing surface. The grit sequence at factory level typically runs 60-grit (calibration) → 80-grit → 100–120-grit (final pass). The result is a consistent surface, but not one ready for clear-coat or stain.
Workshop sanding sequence for okoume veneer:
| Stage | Grit | Purpose |
|---|---|---|
| Initial prep | 120-grit | Remove machine marks, open grain evenly |
| Smoothing | 180-grit | Close grain before primer/stain |
| Final prep | 220-grit | Smooth surface for first coat |
| Between coats | 320-grit | Degloss for adhesion between finish layers |
Rules for sanding okoume veneer:
- Always sand with the grain, never across. Cross-grain scratches show through clear finishes on okoume’s straight-grained face.
- Use a sanding block or random-orbital sander at low speed. Hand-sanding without a block creates uneven pressure and rolls across the soft face veneer.
- Stop at 180-grit before staining. Going to 220-grit before staining closes the grain pores too much and reduces stain penetration depth.
- Go to 220-grit before clear coats (polyurethane, lacquer, oil).
- After final sanding, remove all dust with a tack cloth or vacuum fitted with a soft brush. Any dust particles embedded in the first coat create a sandpaper-like surface that no amount of topcoats will smooth.
⚠️ Important: On 0.2mm face veneer panels, limit yourself to one light pass at 120-grit and proceed directly to 180-grit. At 0.2mm, aggressive 80-grit sanding risks burning through to the core veneer, which is irreversible.
🔧 Step 2 — Primer and Sealer Selection
Priming okoume is non-negotiable before any water-based topcoat. The open grain and mild tannin content mean that standard latex or acrylic primers can blotch — particularly visible on okoume’s pale face where color variation shows immediately.
Three primer options, by application:
📌 Shellac-Based Sealer (Clear Finishes)
For furniture receiving a clear topcoat — polyurethane, lacquer, or oil — a dewaxed shellac sealer applied as a thin wash coat seals the grain pores without adding color. Dewaxed shellac (Zinsser SealCoat is the most widely specified product in European woodworking, per industry use data, 2026) dries in 45 minutes, sands easily at 320-grit, and is compatible with all subsequent topcoats.
Apply one thin coat, allow full cure, sand lightly at 320-grit, and proceed to your topcoat.
📌 Oil-Based Stain-Blocking Primer (Painted Surfaces)
For painted finishes, an oil-based stain-blocking primer (such as Zinsser BIN or equivalent) is the professional choice. It blocks tannin bleed, adheres strongly to the wood face, and provides a uniform white base for paint topcoats. Apply one full coat, allow 2 hours drying, sand at 320-grit, then apply paint topcoats.
📌 Epoxy Sealer (Marine Applications)
For okoume in marine or high-humidity environments, a two-part epoxy sealer (WEST SYSTEM 105/207 or equivalent, per marine industry standards) penetrates the grain and creates a moisture barrier that no varnish alone can replicate. Apply two thin coats of epoxy before any spar varnish. Epoxy sealers are standard practice for okoume marine plywood used in boat building (Chanta Gabon industry documentation).
🔧 Step 3 — Topcoat Options by Application Type
The right topcoat depends on where the finished panel will be used. European furniture manufacturers, who are the primary buyers of HCPLY’s okoume face plywood with E0/E1 emission certification, predominantly specify water-based polyurethane for interior applications.
📌 Water-Based Polyurethane (Interior Furniture)
The standard topcoat for interior furniture: non-yellowing, low VOC, fast-drying, and compatible with both natural okoume and stained surfaces.
Coating schedule:
- Coat 1: Full wet coat, dry 4 hours, sand 320-grit
- Coat 2: Full wet coat, dry 4 hours, sand 320-grit (for high-use surfaces only)
- Coat 3: Final coat, no sanding after (unless buffing to gloss)
2 coats are sufficient for cabinet interiors and drawer components. 3 coats for tabletops, counters, or any surface receiving daily mechanical contact.
📌 Oil Finish (Natural/Matte Look)
Penetrating oils — tung oil, Danish oil, or hardwax oil — produce a matte, natural appearance that suits okoume’s light pink tone. Oils penetrate rather than film-form, which means no surface film to peel, but also lower water resistance than polyurethane.
Apply 2-3 thin coats, allowing full cure (12-24 hours per coat) and wiping back excess before each new application. Hardwax oil (Osmo Polyx-Oil is widely specified in European furniture markets) offers the best compromise between penetrating finish and surface protection.
📌 Marine Spar Varnish (Exterior and Marine)
For any okoume panel exposed to weather, UV, or water splash, marine-grade spar varnish with UV inhibitors is required. Standard polyurethane cracks under UV exposure and thermal cycling — spar varnish is formulated to flex with the wood.
Minimum coating schedule for marine-exposed surfaces (per marine boatbuilding standards):
- 5-6 coats minimum for horizontal surfaces (decks, hull top edges)
- 3-4 coats for vertical surfaces (hull sides, cabin panels)
- Sand at 320-grit between coats 2 and 3, then again before the final coat
Apply in warm, low-humidity conditions. Below 10°C or above 85% relative humidity causes spar varnish to cloud or cure improperly.
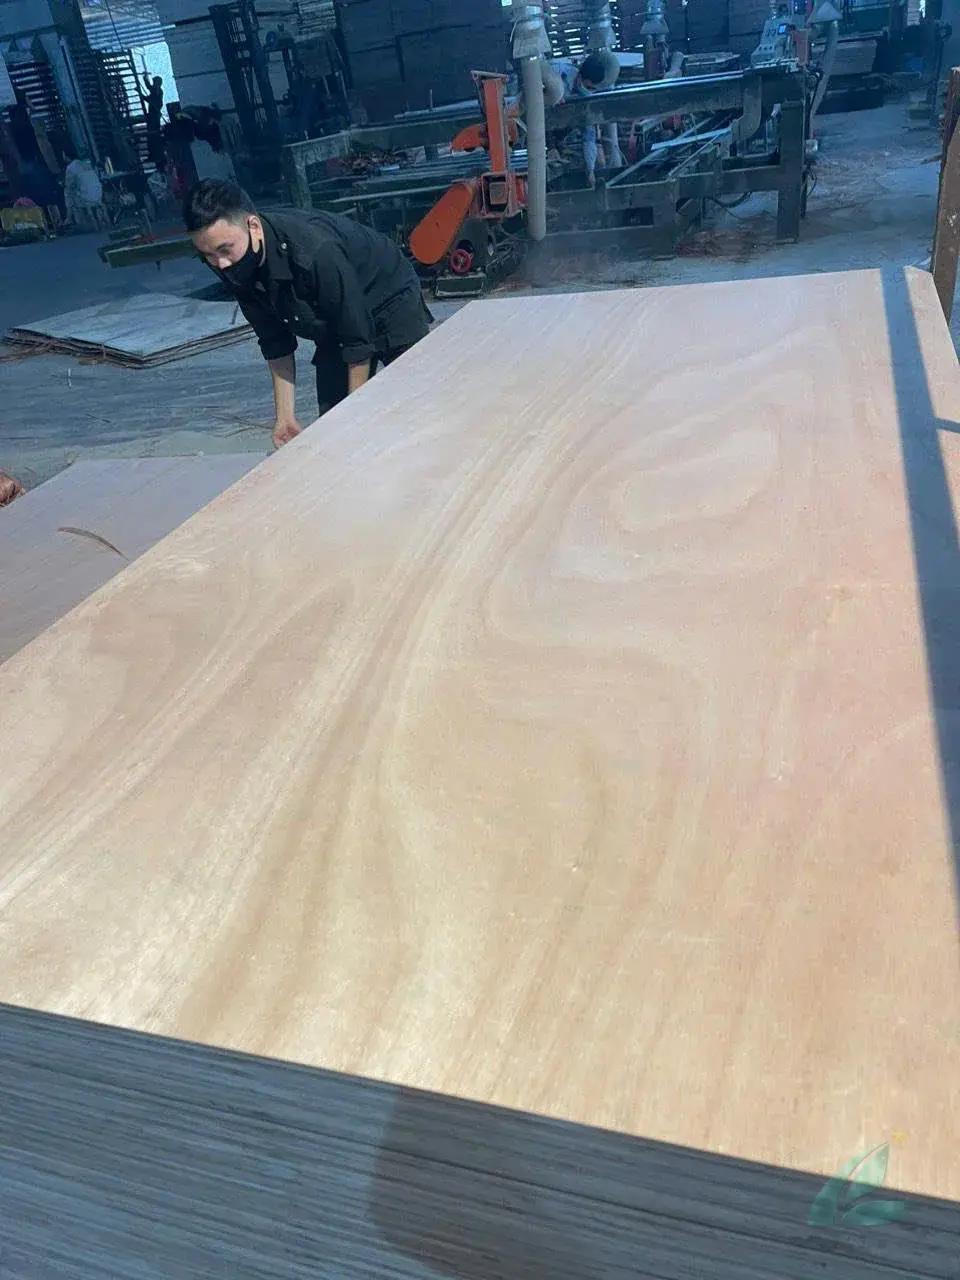
🎨 Step 4 — Staining Okoume Veneer
Staining okoume is achievable, but requires more preparation than staining birch or oak. The open grain causes uneven absorption without conditioning. For buyers integrating okoume plywood finishing into a production line, a pre-stain conditioning step adds only 15-20 minutes per batch but eliminates the most common quality rejection reason — blotchy stain coverage.
Staining process:
- Sand to 180-grit (not 220-grit — you need open grain for penetration)
- Apply a pre-stain wood conditioner — wipe on, wait 15 minutes, wipe off excess
- Apply stain within 2 hours of conditioning (before the conditioner fully closes the grain)
- Wipe on stain with a lint-free cloth, following the grain direction
- Allow 5-10 minutes penetration time, then wipe back excess
- Second coat after full dry (2-4 hours for water-based stains, 8-12 hours for oil-based)
- Seal with your chosen topcoat after the stain fully cures
Color behavior on okoume’s pink face:
| Stain Color | Result on Okoume |
|---|---|
| Natural/clear | Deepens the pink tone, golden warmth |
| Walnut | Rich brown, masks the pink base well |
| Ebony | Near-black, consistent coverage |
| Light oak | Slight orange cast from the pink base |
| Grey/ash | Can pull purple on the pink undertone — test first |
⚠️ Note: Always test stain on an offcut of the same panel before applying to finished work. Okoume from different production runs can vary slightly in base color and grain density, which changes stain absorption.
Request sanded okoume samples with E0 emission certificates — Contact HCPLY
📦 Step 5 — Specifying Okoume Plywood for Finishing
If you are sourcing okoume plywood specifically for furniture production and finishing, the panel specification matters as much as the finishing technique. A poorly specified panel — wrong emission grade, wrong face thickness, wrong sanding quality — creates finishing problems no amount of primer can fix.
Specification checklist for finishing-ready okoume panels:
- Face veneer: Grade A/B, 0.3–0.4mm thickness (allows light sanding without burn-through)
- Sanding: Double-sanded both faces, ≤0.3mm thickness tolerance
- Core: Styrax or eucalyptus (HCPLY sources styrax core from Northern Vietnam — lighter density, 480–500 kg/m³, which means lower sheet weight and easier handling in workshop conditions)
- Glue: Melamine (MR) for interior applications. Emission: E0 for EU markets, E1 for general commercial
- Size: 1220×2440mm (4×8ft) standard, or 1250×2500mm for metric European markets
💡 Pro tip: Request calibrated panels with ±0.3mm thickness tolerance. Thickness variation across a panel produces sanding shadows — areas where more material was removed to flatten the sheet — which show through clear finishes.
“We see buyers specify E1 panels to save cost, then encounter customs delays at EU ports because furniture components require E0 documentation. The panel price difference is small; the delay cost is significant.” — Lucy, International Sales Manager, HCPLY (2026)
For okoume panels destined for the European market, HCPLY ships with FSC chain-of-custody documentation and E0 emission test certificates. EUDR traceability documentation — mandatory for EU timber imports — is included in the standard export package.

📊 Finish Comparison: Okoume Plywood Applications
The table below summarizes the full finishing matrix by application type. Use it as a quick reference when specifying finishing materials for different project categories.
| Application | Primer | Topcoat | Coats | Notes |
|---|---|---|---|---|
| Cabinet interior | None needed | Water-based PU | 2 | Low visibility surface |
| Cabinet door | Shellac sealer | Water-based PU | 3 | Sand 320-grit between coats |
| Table top | Shellac sealer | Water-based PU | 3-4 | High mechanical use |
| Stained furniture | Pre-stain + oil primer | Water-based PU | 2-3 | Condition before staining |
| Painted furniture | Oil stain-blocking primer | Acrylic latex | 2-3 | Sand primer at 320-grit |
| Marine panel | Epoxy sealer (2 coats) | Spar varnish | 5-6 | UV-inhibiting varnish mandatory |
| Exterior (non-marine) | Oil primer | Exterior PU or spar varnish | 3-4 | Annual maintenance coat |
✅ Conclusion
A complete okoume veneer finishing guide comes down to three principles: respect the thin face veneer when sanding, seal before you coat, and match your topcoat to the use environment.
Okoume plywood finishing is more forgiving than many woodworkers expect — the species takes stain, paint, oil, and varnish equally well when prepared correctly. The missteps (aggressive grit, no primer, wrong varnish type) are all avoidable with the sequence above.
For buyers sourcing factory-sanded okoume plywood for furniture production, the specification matters upstream: 0.3–0.4mm face thickness, A/B grade, E0 emission, styrax or eucalyptus core. Get the panel spec right, and the finishing workflow is straightforward.
Request a sample set and E0 certificate — Contact HCPLY
Disclosure: This article is published by HCPLY, a Vietnam-based plywood manufacturer and export operator. While we aim to provide objective industry guidance, readers should consider our perspective as a market participant when evaluating recommendations.
🔗 Related Articles
- Okoume Plywood Vietnam — Full Specifications and Pricing
- Okoume vs Bintangor — Side-by-Side Face Veneer Comparison
- Plywood Face Veneer Types — Complete Buyer Guide
- Plywood Sanding vs Unsanded — When to Specify Each
- Plywood Face Grade Explained — A/B vs D/E/F Systems
- Furniture Plywood Specification Guide — Face, Core, Emission