


Receiving a container of imported plywood without a written inspection protocol costs buyers money every year. Physical damage, moisture ingress, and concealed production defects are all recoverable — but only if you catch them at the right moment and document them correctly.
This guide covers plywood storage best practices from the moment your 40HC arrives at the port gate through warehouse acclimatization, correct stacking, and the full freight damage claims process.
📦 Before the Container Opens: Port Receiving Checks
The first two minutes after a container is broken seal determine whether you have a recoverable claim or an unrecoverable loss.
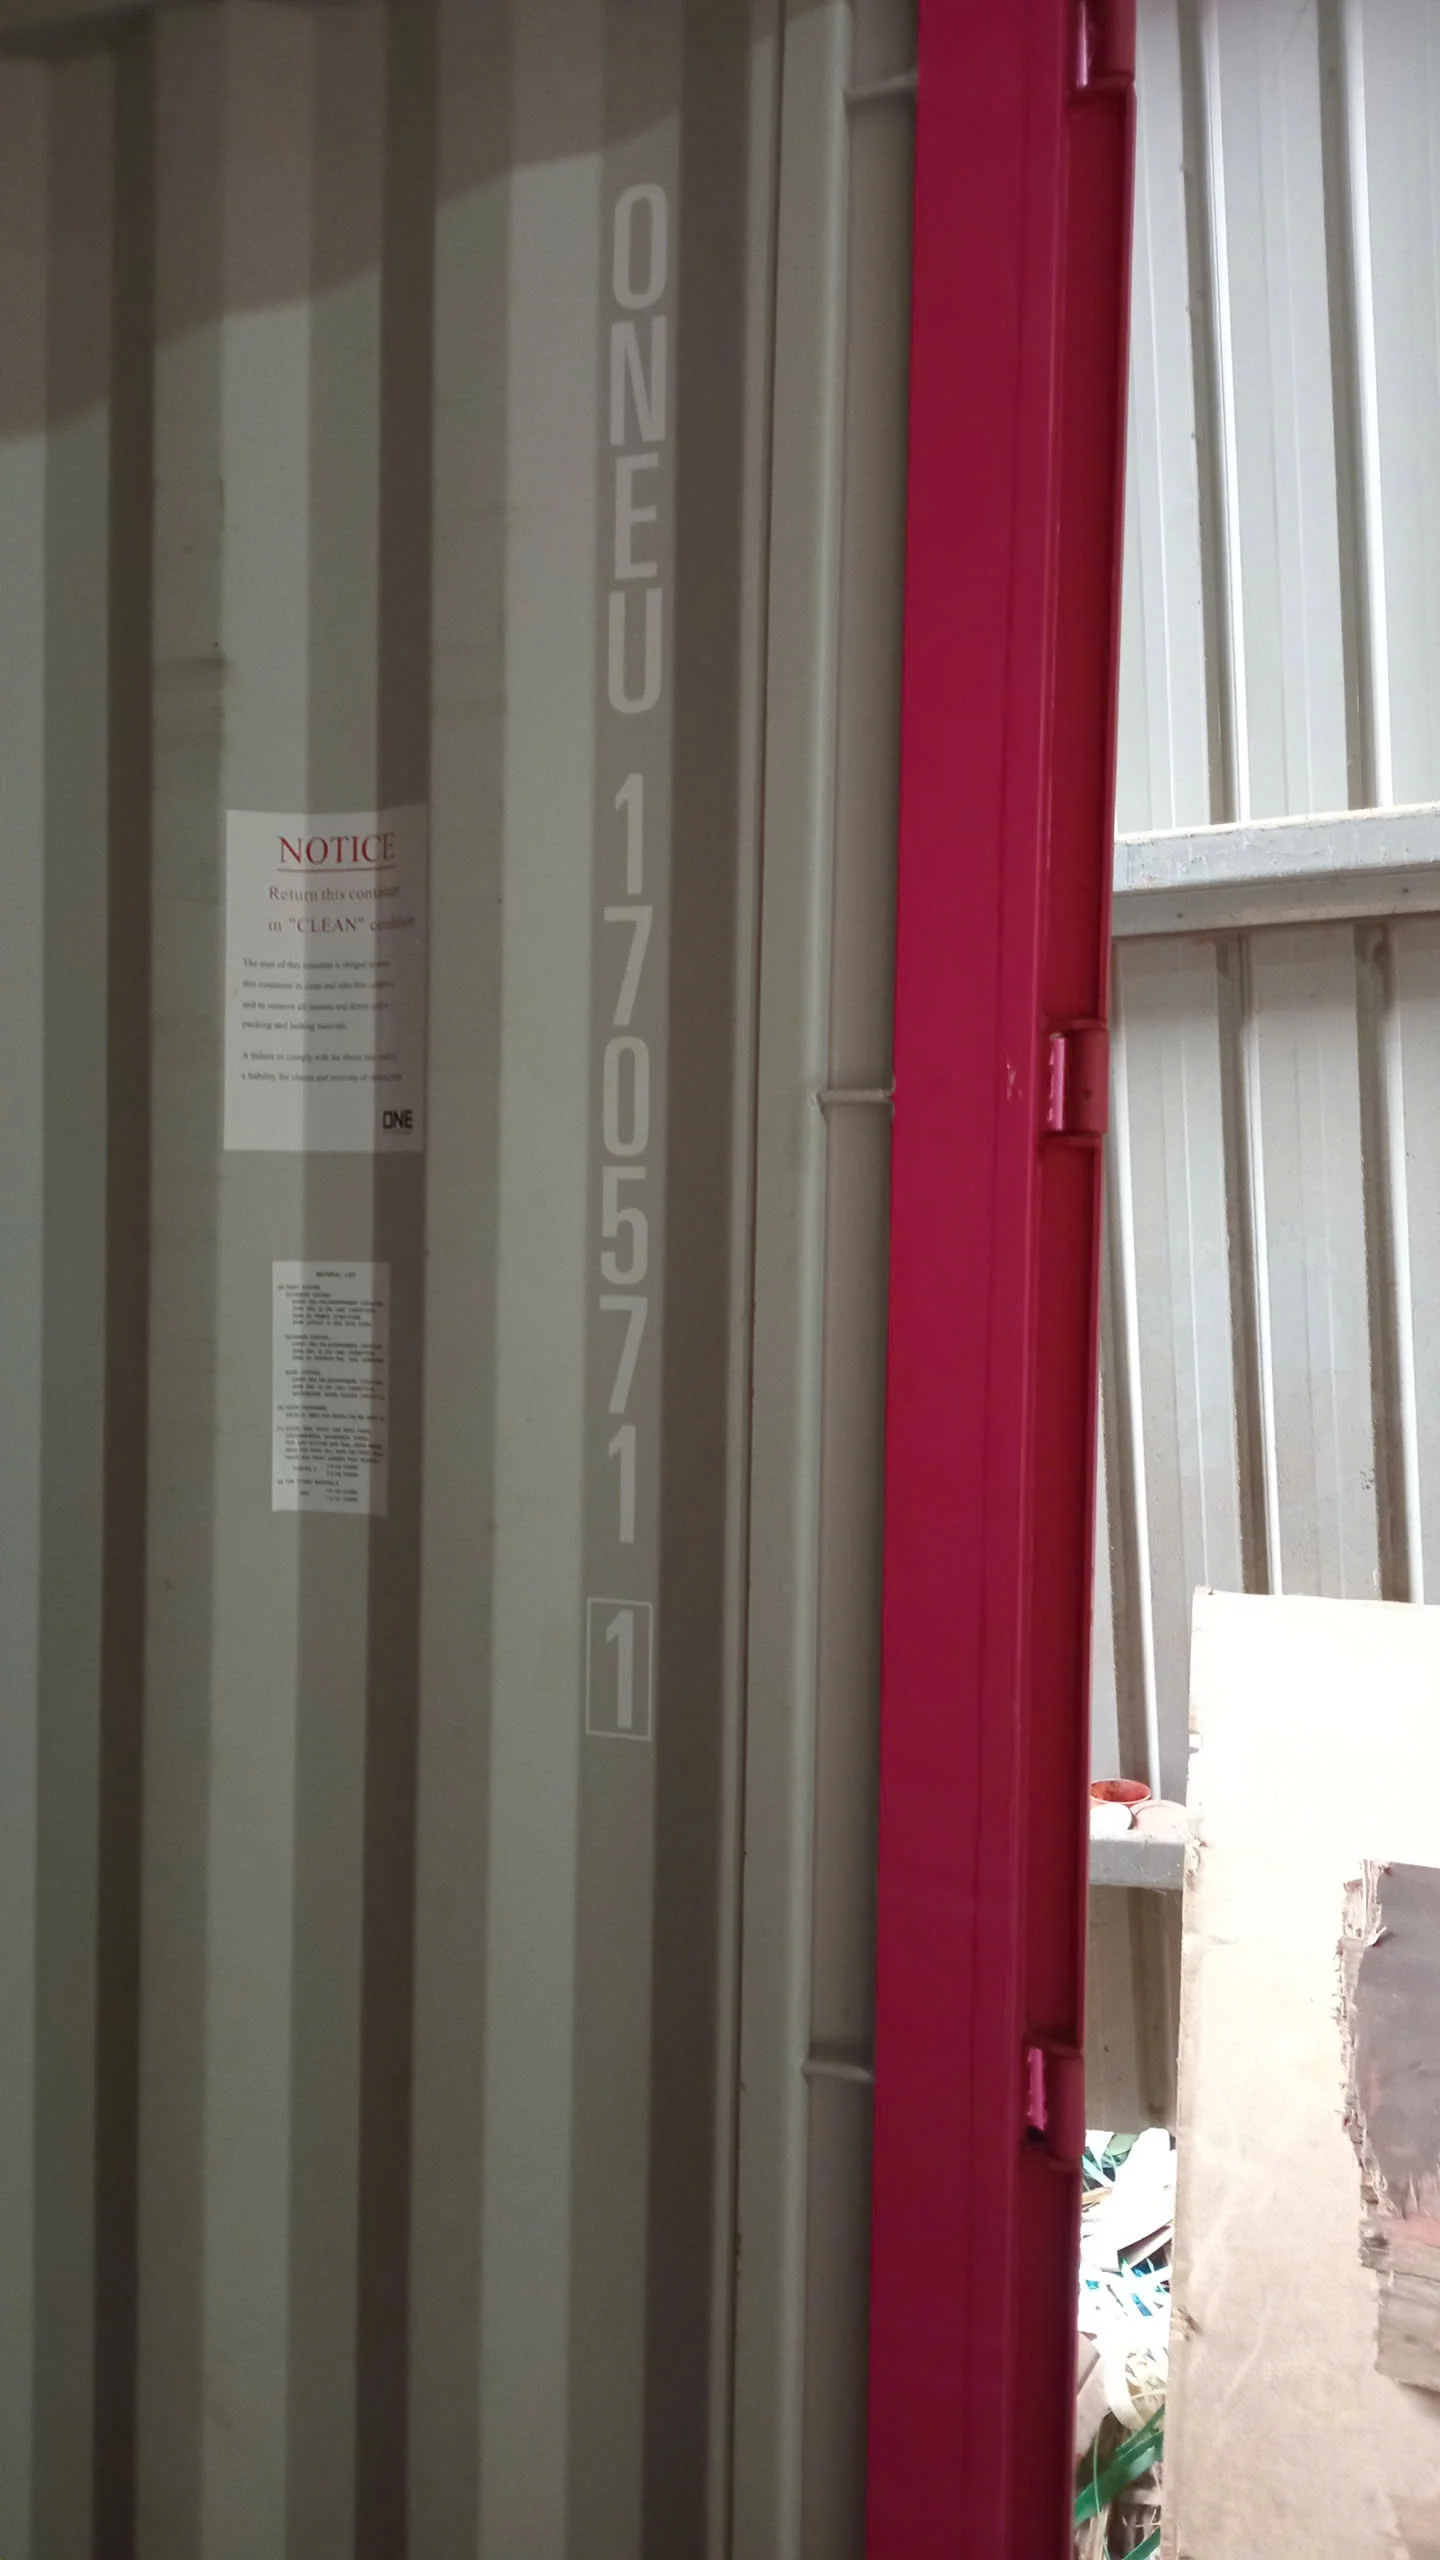
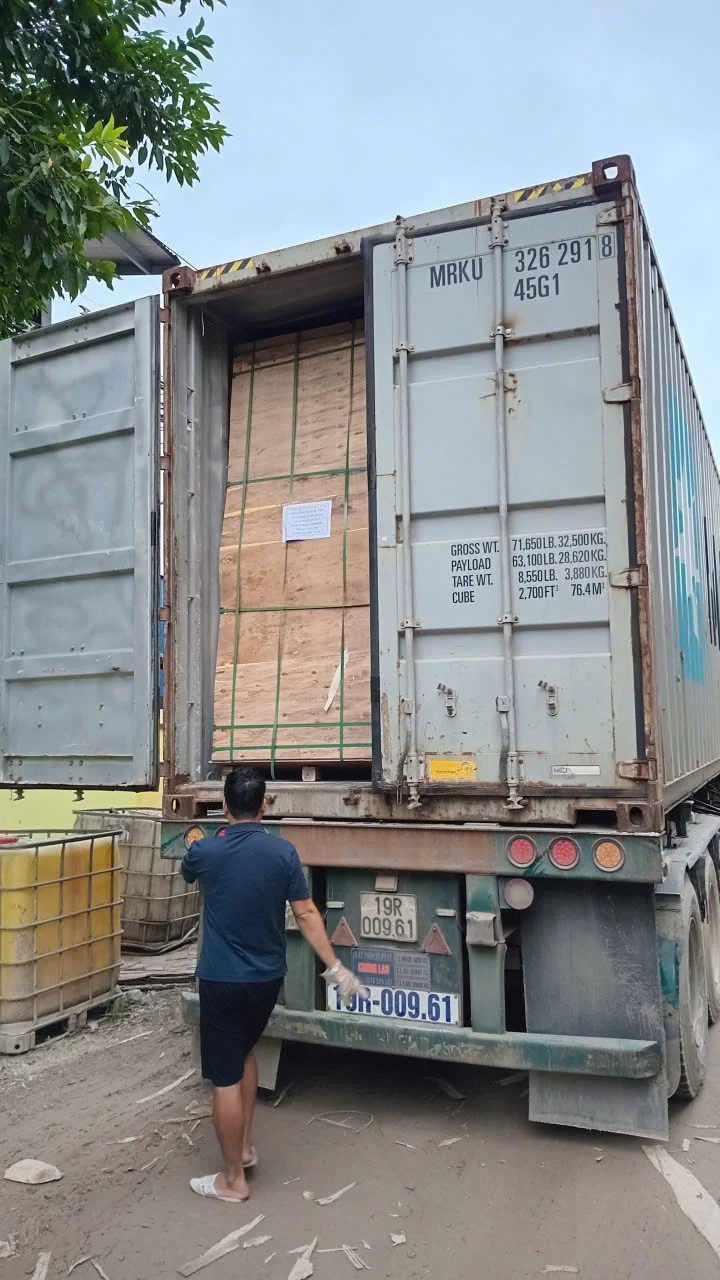
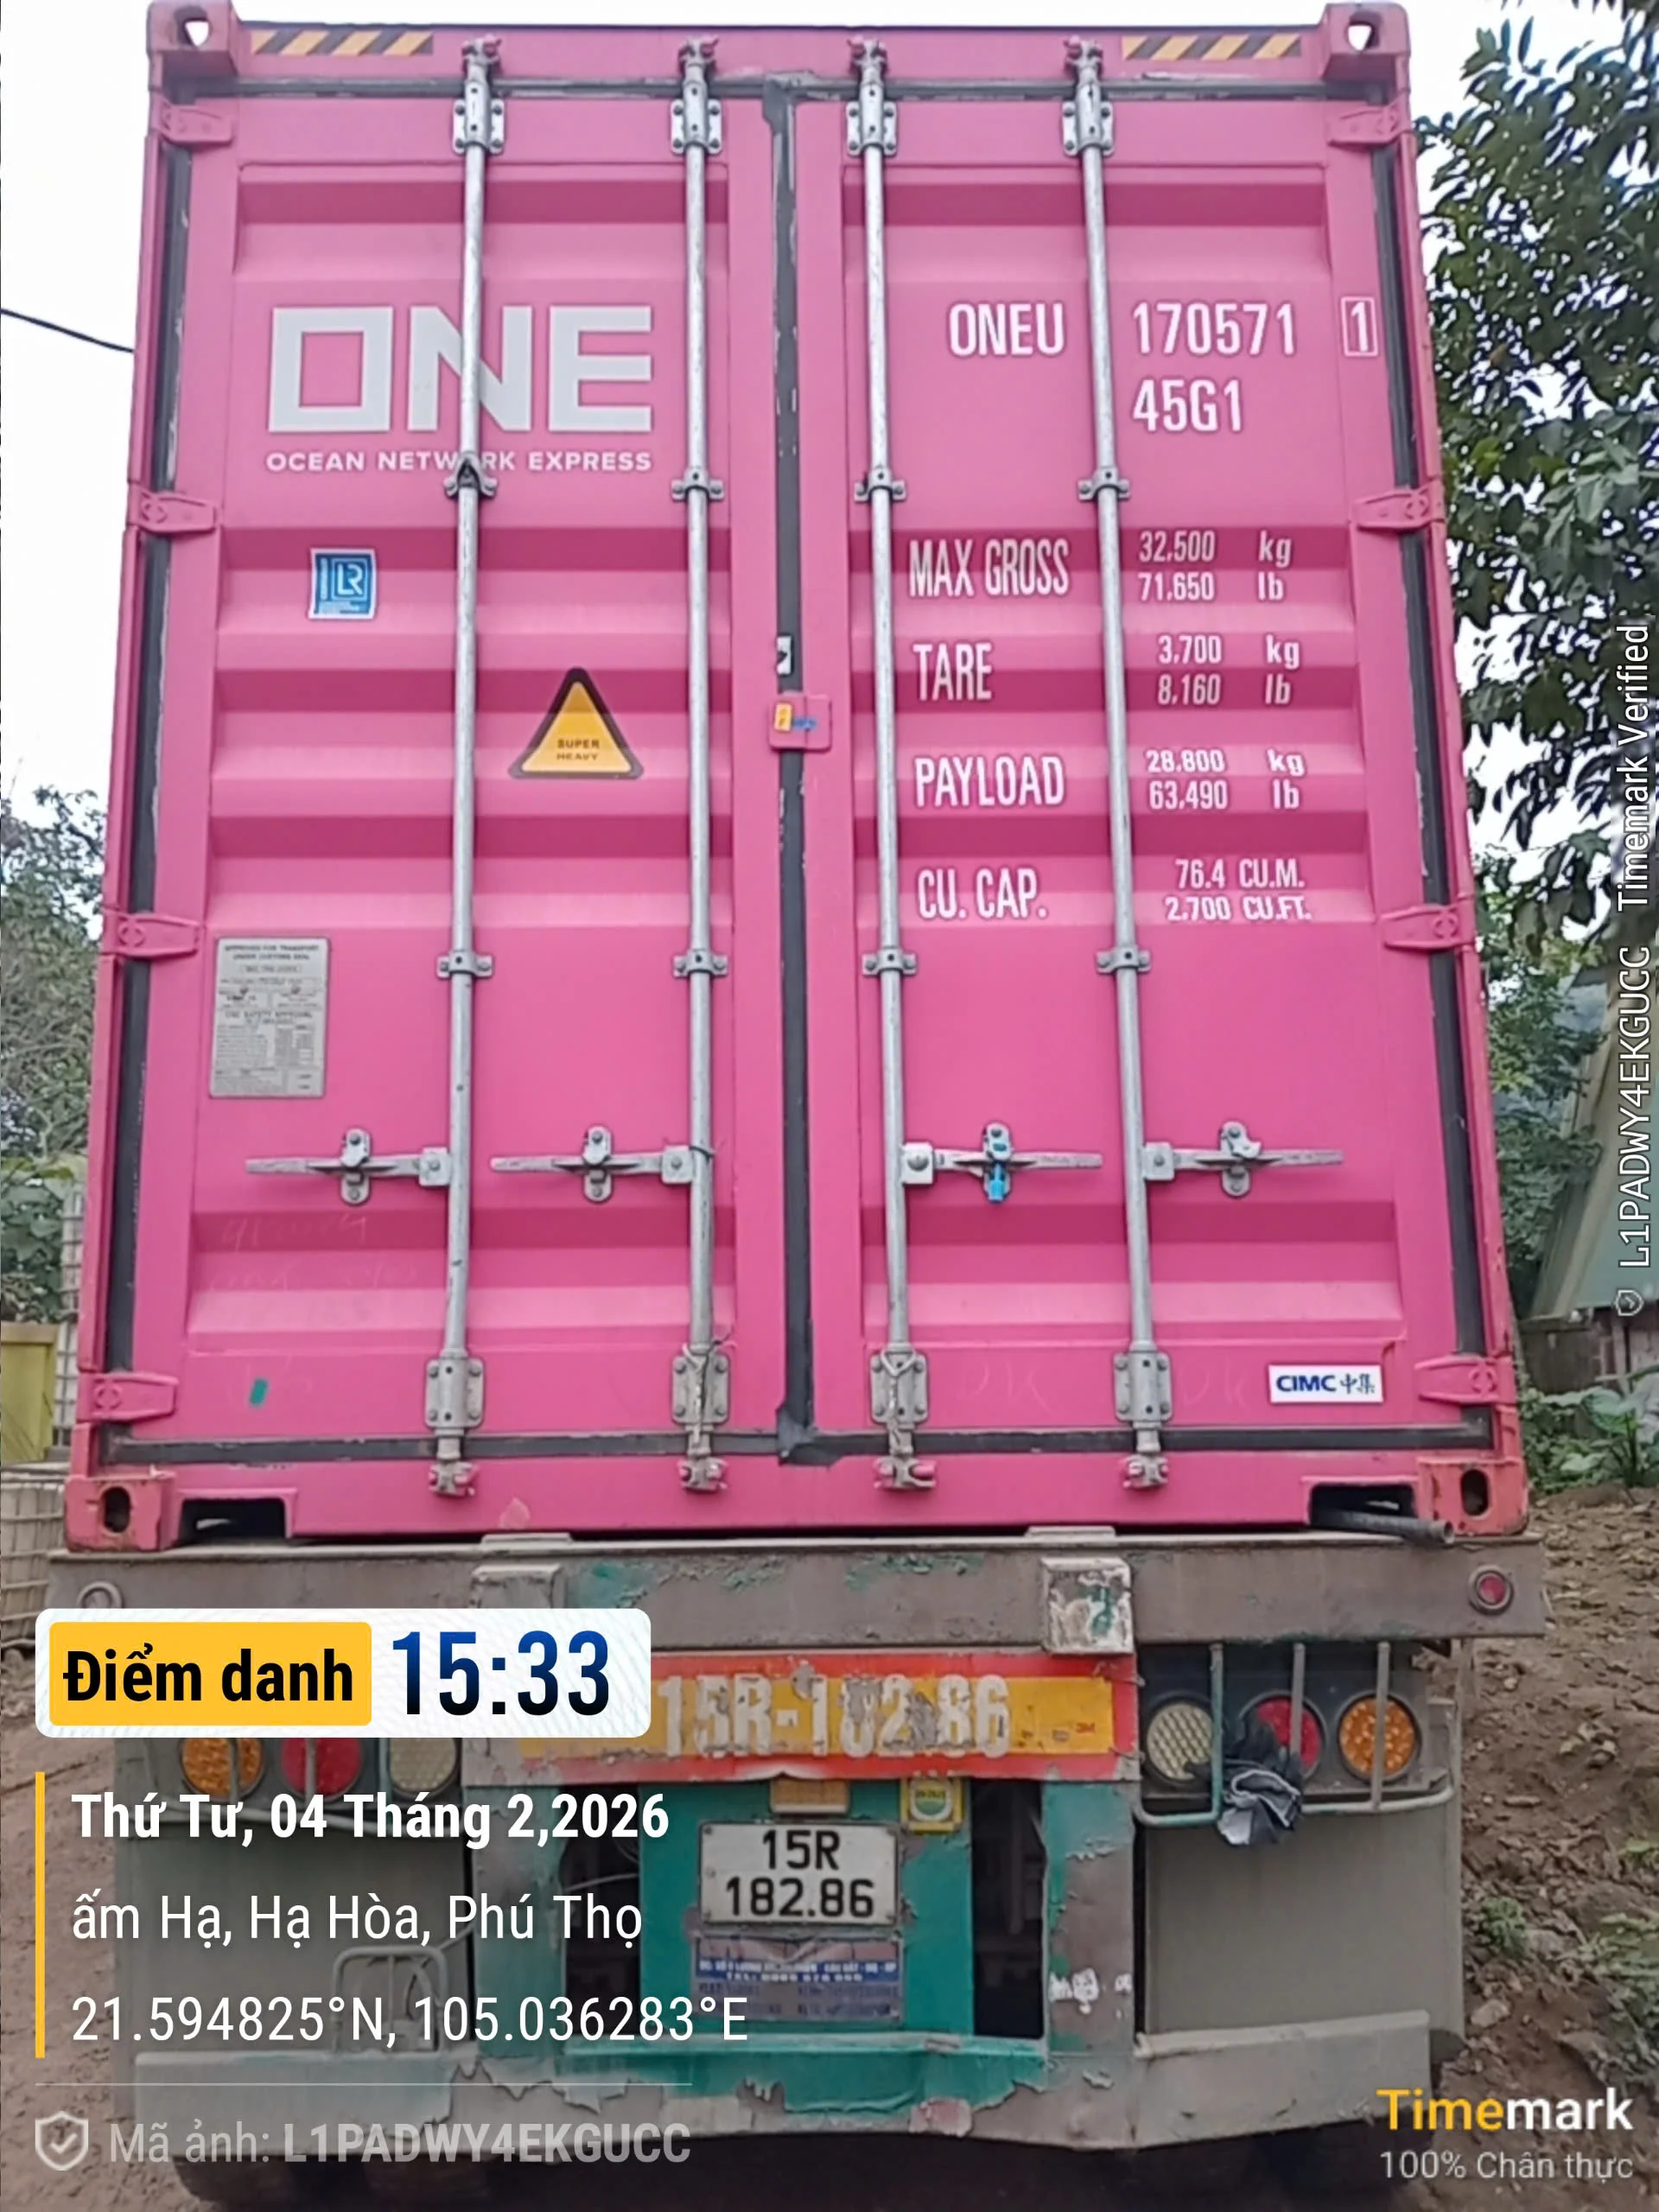
Inspect the seal and container exterior first. Note the container number and check the ISO seal number against your Bill of Lading. A broken or mismatched seal is immediate evidence of unauthorized access — photograph it before touching anything.
Open both container doors fully and check for three things before unloading:
- Water staining on the floor, walls, or cargo surface — indicates rain ingress or container condensation
- Pallet collapse — if pallets have shifted or collapsed during ocean transit, structural damage to the bottom sheets is likely
- Temperature or smell anomaly — fresh mold smell or excessive heat suggests moisture was trapped for an extended period
⚠️ Important: If you observe any of these conditions, do not unload until you have photographed the entire container interior from the door opening. Step inside and photograph each pallet position from multiple angles. These images are the foundation of any freight claim.
🔍 Receiving Inspection: 7-Point Checklist
Once the container interior is documented, proceed with unloading. For each pallet, run this checklist before signing any delivery paperwork:
| Check | Pass | Reject |
|---|---|---|
| Pallet count matches B/L | All pallets present | Any shortfall noted on B/L |
| Outer wrap intact | Plastic wrapping unbroken | Holes, cuts, wet patches |
| Pallet strapping | Straps intact, no cuts | Loose or missing straps |
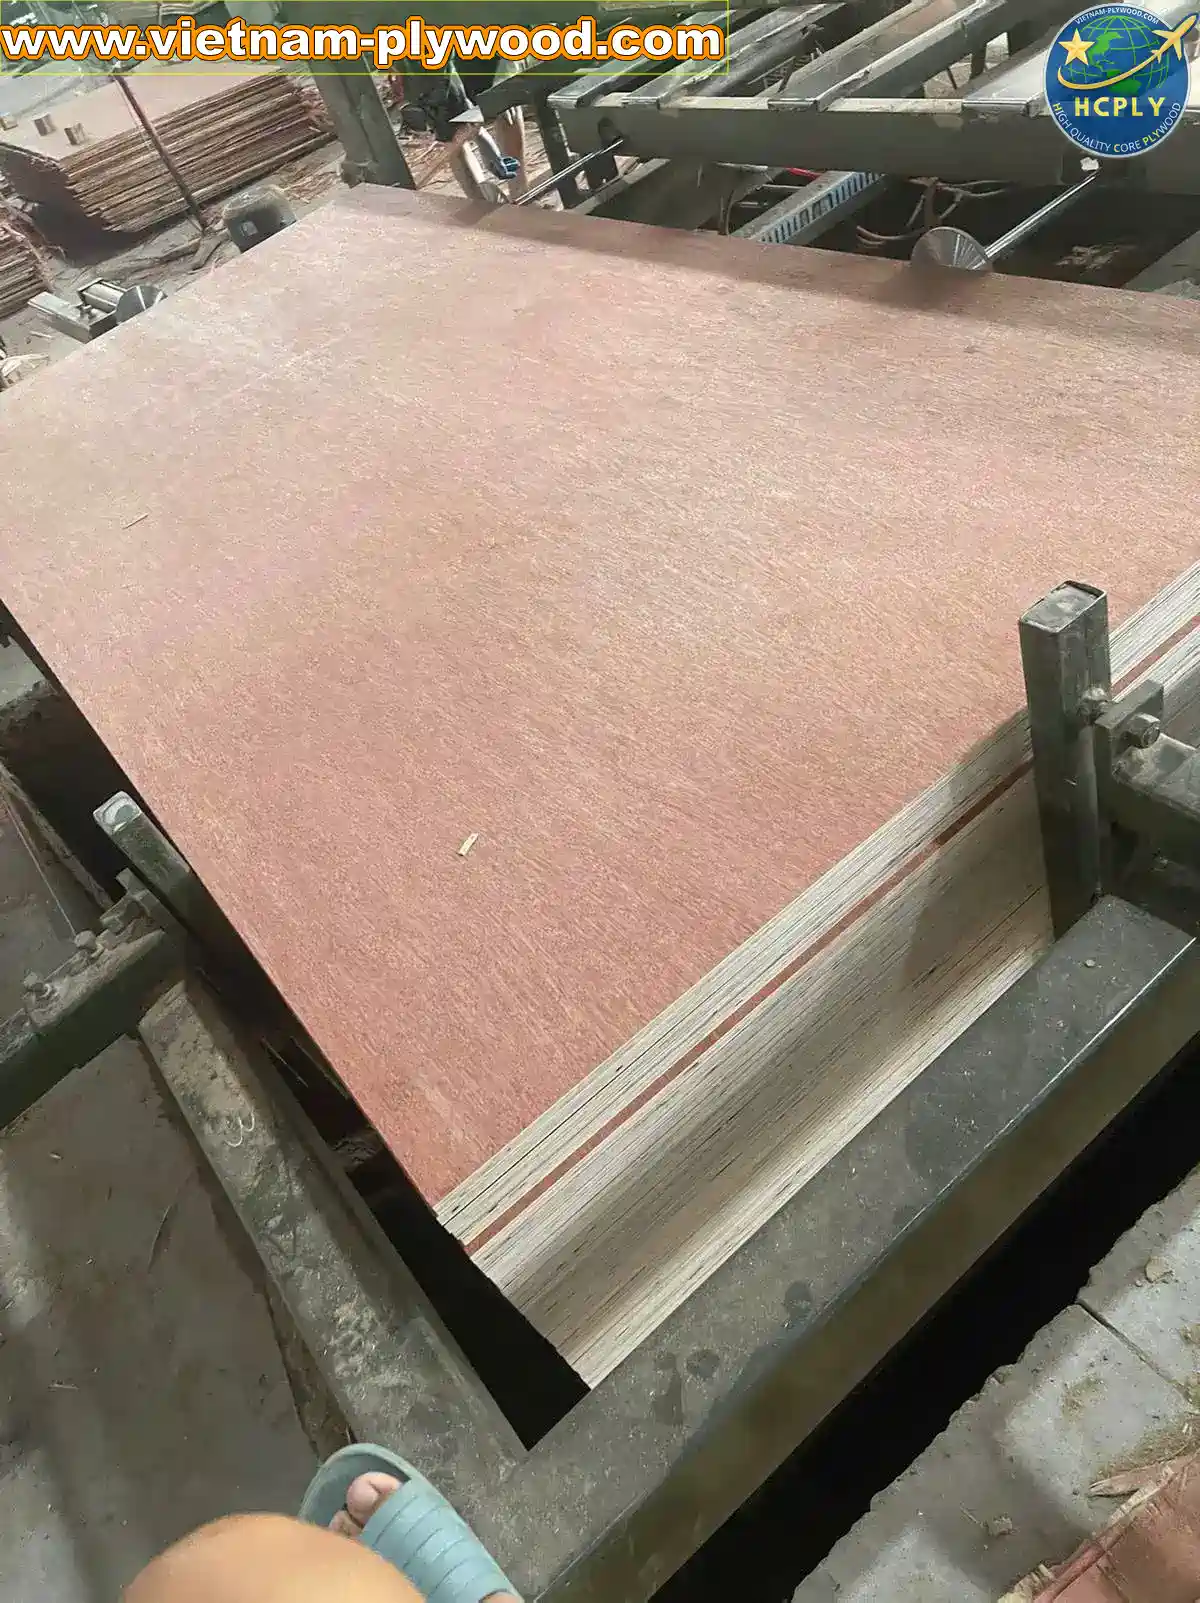
| Top sheet visual | Flat, no staining | Edge swelling, surface mold |
| Stack height ≤ 1000mm | Within limit | Exceeding factory spec |
| Product label vs order | Matches PO specs | Grade, thickness, size mismatch |
| Documentation packet | CO, B/L, phyto, invoice present | Missing document = delay at customs |
Critical rule: Sign the delivery receipt only after completing this checklist. Never sign “goods received in good order” unless you have personally verified it. Once you sign clean, your freight damage claim window closes.
For shipments from HCPLY, every pallet ships with a QC card attached showing the press date, thickness measurement, moisture reading, and grade confirmation. Cross-reference these against your purchase order specifications.
🏭 Plywood Storage Best Practices: Warehouse Setup
Once pallets are unloaded, storage conditions determine how long your inventory holds its value. Plywood manufactured in Vietnam leaves the factory at 6-8% moisture content (HCPLY production data, 2026). Your warehouse environment must prevent that from rising above 14% — the threshold where mold becomes active.
📌 Floor and Foundation
Never store plywood directly on concrete. Concrete wicks moisture upward. Place pallets on a raised floor system or use 100mm timber battens at minimum 600mm intervals along the full sheet length. This ensures:
- Air circulation beneath the bottom sheet
- No direct contact with cold or damp surfaces
- Forklift clearance for safe pallet movement
📌 Flat vs Upright Storage
Flat storage is the only correct method for long-term inventory. Standing sheets against a wall generates uneven compression stress. Over 2-3 weeks, acacia-core plywood (density ~580 kg/m³) will begin to bow at the unsupported ends. Eucalyptus-core plywood (density 650-750 kg/m³) is denser and bows faster under its own weight when stored vertically.
For short-term staging (under 48 hours), vertical storage is acceptable if the sheets lean at no more than a 15-degree angle from vertical with full-length bottom support.
📌 Humidity and Temperature Control
| Target Condition | Acceptable Range | Risk Zone |
|---|---|---|
| Relative humidity | 45-65% | Above 70% = mold risk |
| Temperature | 15-30°C | Below 10°C = adhesive stress |
| Air circulation | Active, no stagnant zones | Still air = moisture pockets |
If your warehouse is not climate-controlled, stack plywood on raised pallets and wrap the top sheets with breathable polythene. Full sealed wrapping in non-climate-controlled spaces traps humidity and accelerates surface mold.
For furniture-grade E0 plywood destined for factory processing, allow 48-72 hours acclimatization time before cutting. This lets the MC stabilize to the factory environment and prevents post-machining movement (Amerhart Wood Distribution, 2024).
📊 Stacking Limits by Core Species
Stacking too many sheets creates compression at the bottom layers and edge shelling on the face veneer. Different core species have different density profiles that affect maximum safe stack height.
| Core Species | Density | Max Stack (1220×2440mm) | Notes |
|---|---|---|---|
| Styrax | 480-500 kg/m³ | 100-120 sheets | Lightest, most stable stack |
| Acacia | ~580 kg/m³ | 80-100 sheets | Standard commercial inventory |
| Eucalyptus | 650-750 kg/m³ | 60-80 sheets | Heaviest — forklift weight check required |
For mixed-species inventory, apply the limits of the heaviest species in each stack. Never stack different thicknesses together — the gap between different-sized sheets creates point-load compression that damages edges and face veneer.
See our full container packing and pallet configuration guide for the underlying density and weight data these limits are based on.
📋 Filing a Plywood Freight Damage Claim
When damage is confirmed, speed and documentation are everything. International freight damage claims have strict time limits. Under the Hague-Visby Rules (the framework governing most international ocean freight), visible damage must be noted at delivery; concealed damage claims must be submitted within 3 days of delivery (Hague-Visby Rules, Article III, Rule 6).
Key Insight: 90%+ of rejected freight claims fail due to insufficient documentation at the time of delivery — not because the damage was not real.
Step 1: Note on the Bill of Lading
Before the truck leaves, write clearly on the driver’s copy of the delivery receipt: “Received with apparent damage — [describe specifically: wet pallet #3, broken strapping #5, collapsed stack].” Both you and the driver must sign this notation.
Step 2: Photograph Within 24 Hours
Take a minimum of 20 photographs showing:
- Container interior before unloading (door-open view)
- Each damaged pallet from multiple angles
- Close-up of specific damage: swelling, delamination, crushing
- The product label on each affected pallet confirming the item identity
Photograph timestamps must precede any movement or disposal of damaged goods. Moving damaged stock before carrier inspection can void your claim.
Step 3: Notify the Carrier and Freight Forwarder
Send written notice to both the ocean carrier and your freight forwarder within 72 hours. Include:
- Container number and seal number
- Bill of Lading number
- Pallet numbers affected
- Preliminary damage description with photos attached
- Your claim amount (use replacement cost at FOB price plus freight)
Step 4: Request Carrier Inspection
Under international freight law, the carrier has the right to inspect the damaged goods before you dispose of them. Request this inspection in writing. Cooperate fully — refusing inspection is one of the most common grounds for claim denial (GSA Freight Claims FAQ, 2024).
Step 5: Submit Full Claim Documentation
Compile and submit within the claim window (9 months from delivery date for US-bound cargo under 49 CFR 370.3; typically 3-12 months for other markets — check your freight contract):
- Signed Bill of Lading with damage notation
- Commercial invoice showing unit value
- Packing list cross-referenced to damaged pallets
- Timestamped photographs (minimum 20 images)
- Mill QC certificates proving pre-shipment condition
- Written claim letter with calculated loss amount
🔧 Separating Freight Damage from Supplier Claims
Not every post-arrival defect is a freight damage claim. Understanding the distinction determines who you pursue and what documentation you need.
Freight damage claims (against the carrier) apply when:
- Physical damage is clearly from transit: crushing, water ingress, impact
- The damage was not present in the pre-shipment QC photos provided by the factory
- The damage correlates with container conditions observed at port receiving
Supplier quality claims (against HCPLY or any manufacturer) apply when:
- Thickness is outside the ±0.3mm tolerance specified in the purchase order
- Grade does not match — face veneer defect count exceeds the contracted grade limit
- Emission standard is incorrect — mill test report shows E1 when E0 was ordered
- Wrong species was shipped
For supplier claims, the evidence window is longer but the process differs:
- Sample the affected pallet (10% of sheets minimum)
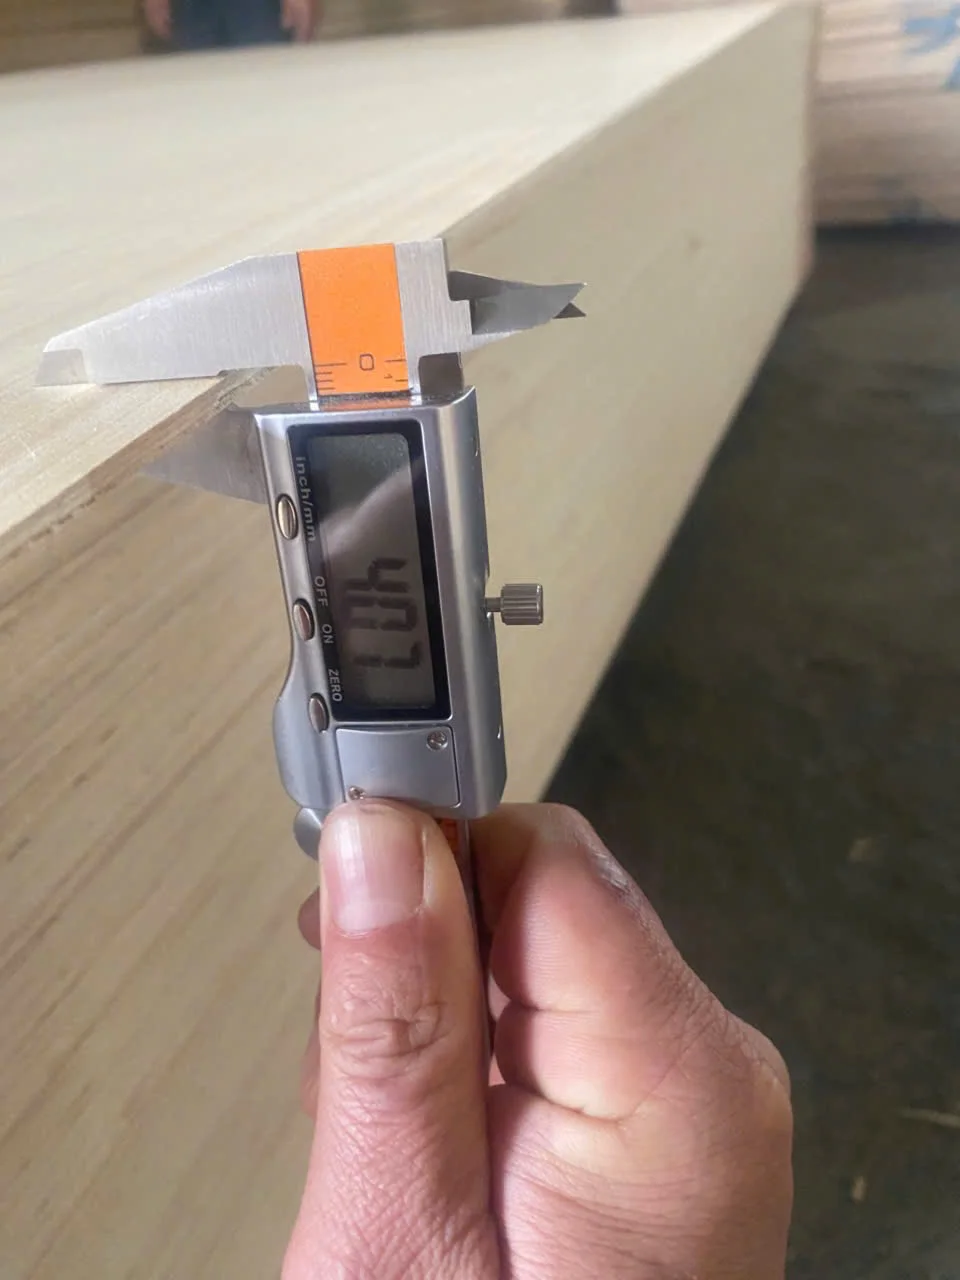
- Photograph defects with a ruler or caliper in frame for scale
- Submit to HCPLY within 30 days of delivery with the original packing list and QC certificates
- Retain the original packing — claims submitted without original mill packaging are harder to process
“The most common quality dispute we resolve is thickness tolerance — buyers measure with a consumer-grade digital caliper that drifts, and get 18.2mm on a stated 18mm sheet. Our mill calipers show 18.1mm, which is within the ±0.3mm tolerance. Get calibrated measuring tools before disputing thickness.” — Lucy, International Sales Manager, HCPLY
✅ Pre-Storage QC: What HCPLY Provides
Every HCPLY shipment includes documentation that supports both freight and quality claims:
- Pre-loading photographs — container interior after loading, pallet strapping status
- QC inspection report — thickness readings, moisture readings, face grade check
- Mill test certificates — emission standard (E0/E1/E2) with test date
- Packing list with pallet IDs — cross-referenceable against delivery receipt
These documents establish the pre-shipment condition of your goods. Combined with your port receiving photos, they create a documented chain of custody that supports your claim regardless of who is at fault.
Download the HCPLY product catalogue and quality certification pack to understand our full QC documentation standard.
📌 Storage Quick-Reference Summary
| Action | When | Standard |
|---|---|---|
| Container exterior check | Before unsealing | Photograph seal + exterior |
| Interior photo | Before unloading | Full door-to-back documentation |
| Delivery receipt notation | Before driver leaves | Specific, signed damage notation |
| Carrier notification | Within 72 hours | Written, with photo attachments |
| Carrier inspection request | Within 72 hours | Do not move goods beforehand |
| Claim submission | Within 5-9 months | Per freight contract terms |
| Warehouse setup | Before pallets arrive | Raised floor, 45-65% RH |
| Acclimatization (furniture grade) | First 48-72 hours | Before cutting or processing |
Correct receiving and storage procedures protect your investment from the moment the container seal is broken. The buyers who recover the most from freight incidents are those who photograph everything before unloading and note damage on the delivery receipt while the driver is still present.
Contact HCPLY to request a factory quote with pre-shipment QC documentation included — we send container loading photos and QC reports before every shipment, giving your team the evidence baseline needed for any post-arrival claim.